If you love pizza but need to avoid gluten, finding the perfect crust can feel like a challenge. Many gluten-free pizzas turn out either too dense, too crumbly, or lacking the classic chewy texture we all love. The good news is that with the right combination of ingredients and a few simple techniques, you can make a homemade gluten-free pizza crust that is crispy on the outside, soft and tender in the center, and packed with flavor.
This recipe creates a delicious crust that holds toppings well and bakes beautifully in a standard home oven. Whether you’re gluten intolerant, cooking for someone with celiac disease, or simply experimenting with gluten-free cooking, this pizza crust will quickly become one of your favorite recipes.
The dough is easy to prepare and uses common gluten-free ingredients that work together to mimic the elasticity and structure usually provided by gluten. Xanthan gum helps bind the dough, yeast gives the crust its airy texture, and a touch of olive oil adds richness and flavor.
Once baked, the crust becomes perfectly golden around the edges while remaining light and slightly chewy inside—just like a traditional pizza.
Ingredients
To make one medium gluten-free pizza crust, you will need:
- 1½ cups gluten-free all-purpose flour
- 1 tablespoon sugar
- 1 teaspoon instant dry yeast
- 1 teaspoon salt
- ½ teaspoon garlic powder (optional, for extra flavor)
- 1 tablespoon olive oil
- ¾ cup warm water (about 110°F / 43°C)
- 1 teaspoon apple cider vinegar
- ½ teaspoon xanthan gum
Optional toppings:
- Gluten-free pizza sauce
- Mozzarella cheese
- Vegetables or meats of your choice
- Dried oregano or chili flakes
Instructions
1. Activate the Yeast
Start by activating the yeast. In a small bowl, combine the warm water, sugar, and instant dry yeast. Stir gently until the sugar dissolves. Allow the mixture to sit for about five minutes. During this time, the yeast will begin to activate and form a light foam on the surface. This step ensures that your dough will rise properly and develop a light texture.
2. Mix the Dry Ingredients
In a large mixing bowl, add the gluten-free all-purpose flour, salt, garlic powder (if using), and xanthan gum. Whisk the ingredients together until everything is evenly combined. Mixing the dry ingredients thoroughly helps distribute the xanthan gum, which plays an important role in giving the dough structure.
3. Combine Wet and Dry Ingredients
Once the yeast mixture becomes frothy, pour it into the bowl with the dry ingredients. Add the olive oil and apple cider vinegar. Begin mixing with a spoon or spatula until the dough starts to come together. Gluten-free dough is usually softer and slightly stickier than traditional wheat dough.
If the dough feels too thick or dry, add a small amount of warm water, one tablespoon at a time, until a soft dough forms.
4. Knead the Dough
Lightly dust your hands or work surface with gluten-free flour. Gently knead the dough for a few minutes until it becomes smoother. Unlike traditional dough, gluten-free dough does not need heavy kneading. A short knead helps combine the ingredients and improves the dough’s texture.
5. Let the Dough Rise
Place the dough back into the bowl and cover it with a clean kitchen towel or plastic wrap. Let it rest in a warm place for about 30 to 45 minutes. During this time, the yeast will cause the dough to rise and become lighter. Ideally, the dough should nearly double in size.
6. Preheat the Oven
While the dough is rising, preheat your oven to 450°F (230°C). If you have a pizza stone, place it inside the oven while it heats. A hot pizza stone helps create a crisp bottom crust. If you don’t have one, a baking sheet lined with parchment paper works perfectly as well.
7. Shape the Pizza Crust
Once the dough has risen, gently press it down to release excess air. Transfer the dough onto a sheet of parchment paper. Using your hands or a rolling pin, shape it into a round or rectangular crust depending on your preference. Aim for an even thickness so the pizza cooks uniformly.
8. Pre-Bake the Crust
Carefully place the shaped dough (with the parchment paper) onto the hot pizza stone or baking sheet. Bake the crust for about 10 to 12 minutes. This pre-baking step helps set the structure of the crust and prevents it from becoming soggy after toppings are added.
You will notice the edges starting to turn slightly golden.
9. Add the Toppings
Remove the crust from the oven and spread a layer of gluten-free pizza sauce evenly over the surface. Add shredded mozzarella cheese and your favorite toppings such as mushrooms, bell peppers, olives, onions, or cooked chicken.
10. Bake the Pizza
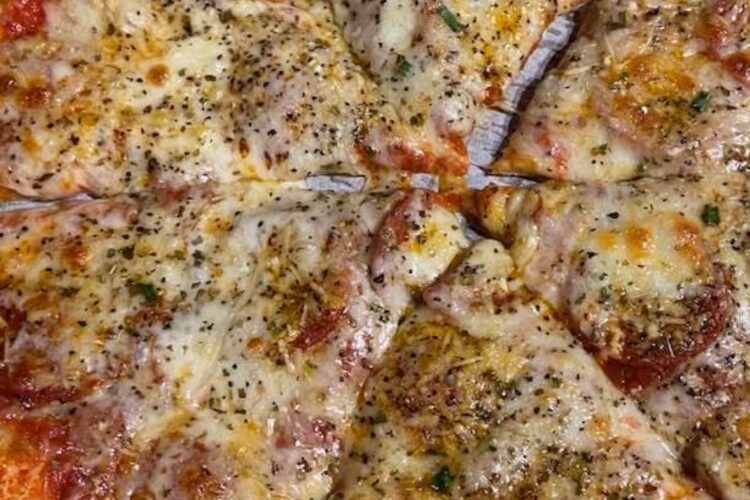
Return the topped pizza to the oven and bake for another 10 to 15 minutes. The cheese should melt completely and become bubbly, while the crust turns golden and crispy around the edges.
11. Serve and Enjoy
Once baked, remove the pizza from the oven and allow it to cool for a few minutes. This helps the cheese set slightly and makes slicing easier. Cut into slices and serve warm.
Enjoy your homemade gluten-free pizza with family and friends!
Tips for the Best Gluten-Free Pizza
- Use good quality gluten-free flour that contains rice flour, potato starch, and tapioca starch for the best texture.
- Pre-baking the crust is essential to prevent sogginess.
- Don’t overload the pizza with toppings, as gluten-free crust is slightly more delicate than traditional dough.
- A hot oven is key to achieving crispy edges and a well-baked crust.
