A Complete, Professional-Level Guide for Home Bakers
There is something deeply satisfying about baking sourdough bread: the crackling crust, the open airy crumb, and the rich aroma that fills your kitchen. Traditionally, achieving this result requires years of experience, careful kneading, and a strong understanding of fermentation.
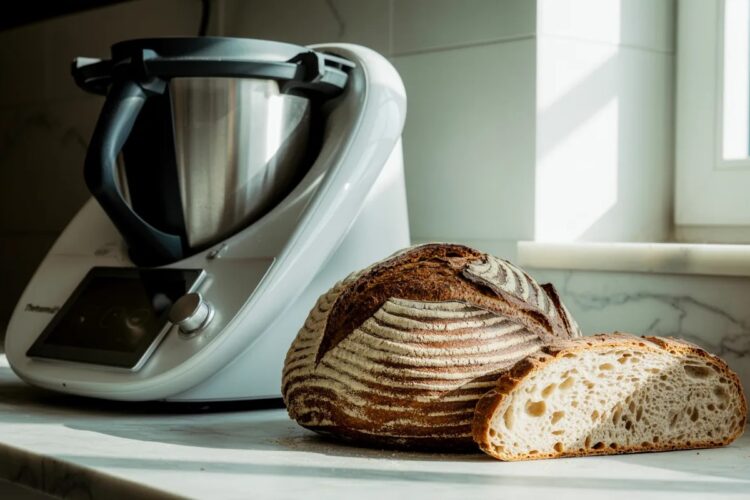
However, with a Thermomix, you can dramatically simplify the process while still producing bakery-quality results. By combining controlled mixing, consistent kneading, and precise ingredient measurement, this method allows you to focus on technique rather than effort.
This guide will walk you through every stage—from flour hydration to baking—so you can confidently produce exceptional sourdough bread at home.
Why Use a Thermomix for Sourdough?
Using a Thermomix is not about cutting corners—it’s about precision and consistency.
Key advantages:
- Controlled kneading: The Dough Mode replicates professional stretch-and-fold motion, helping develop strong gluten efficiently.
- Temperature stability: Reduced friction prevents overheating, protecting yeast activity.
- Accurate measurements: Built-in scale ensures exact hydration and salt ratios.
- Consistent mixing: Even distribution of ingredients improves dough structure and fermentation.
Ingredients (Standard Formula – ~70% Hydration)
This formula produces a balanced dough that is easy to handle yet still yields an open crumb.
- 400 g strong bread flour (12%+ protein)
- 100 g whole wheat flour
- 350 g water (room temperature, ~20–22°C)
- 100 g active sourdough starter
- 10 g fine salt
Optional Variations
- Seeded loaf: Add 40–60 g soaked seeds (chia, flax, sunflower) during final kneading
- Higher hydration: Increase water to 370–380 g for a more open crumb (advanced)
- Milder flavor: Reduce fermentation time slightly
- Stronger flavor: Extend cold fermentation up to 24 hours
Equipment You’ll Need
- Thermomix (TM5, TM6, or similar)
- Mixing bowl with blades
- Spatula
- Proofing basket (banneton) or bowl lined with cloth
- Baking tray or Dutch oven
- Sharp blade or lame for scoring
Step-by-Step Method
1. Autolysis (Initial Hydration)
Add flour and water to the Thermomix bowl.
- Mix: 20 seconds / Speed 4
- Rest: 30–60 minutes (lid closed)
Why this matters:
Autolysis allows flour to fully absorb water, beginning gluten formation naturally. This reduces kneading time and improves elasticity.
2. Add Starter and Salt
Add:
- 100 g active sourdough starter
- 10 g salt
Knead:
- 5 minutes / Dough Mode
The dough should become smoother and slightly elastic, though still soft.
3. Bulk Fermentation (4–6 Hours)
Transfer dough to a lightly oiled bowl.
Over the next few hours:
- Perform a stretch-and-fold every 30–45 minutes (3–5 times total)
How to fold:
- Pull one side of the dough upward
- Fold it over the center
- Rotate bowl and repeat
Goal:
Build strength while trapping gas produced by fermentation.
4. Shaping the Dough
After fermentation:
- Turn dough onto a lightly floured surface
- Shape into a tight round (boule) or oval
Place into a floured proofing basket, seam-side up.
5. Cold Fermentation (Recommended)
Refrigerate:
- 12–18 hours at 4–6°C
Benefits:
- Improves flavor complexity
- Makes scoring easier
- Enhances crust development
6. Baking
Preheat oven to 250°C for at least 30 minutes.
Transfer dough onto baking paper and score the surface.
Bake in two stages:
- Initial bake with steam
- 250°C for 20 minutes
- Add steam (tray of water or Dutch oven lid)
- Final bake (dry heat)
- Reduce to 200°C
- Bake 20–25 minutes
Bread is done when:
- Crust is deep golden brown
- Bottom sounds hollow when tapped
Temperature Control: The Hidden Key
One of the most important factors is dough temperature.
- Ideal final dough temperature: 23–25°C
- If your kitchen is warm, use cold water
- If your kitchen is cold, use slightly warm water
Too warm → over-fermentation, flat bread
Too cold → slow rise, dense crumb
Common Problems and Solutions
Dense bread
- Starter not active enough
- Insufficient fermentation time
Dough too sticky
- Hydration too high
- Weak flour
Flat loaf
- Overproofed dough
- Poor shaping tension
Crust too hard
- Overbaking
- Not enough steam
Cleaning the Thermomix After Dough
- Add 1 liter water + a drop of dish soap
- Run Dough Mode or prewash cycle
- Use Turbo (1–2 seconds) if dough sticks to blades
Storage Tips
- Store at room temperature in cloth or paper bag (up to 4 days)
- Avoid plastic (softens crust)
- Freeze sliced for longer storage
To refresh:
- Toast slices directly from frozen
- Or reheat whole loaf briefly in oven
Final Thoughts
Making sourdough bread with a Thermomix bridges tradition and technology. While the machine simplifies kneading and mixing, the essence of sourdough—fermentation, patience, and technique—remains the same.
Once you master timing and temperature, you’ll be able to consistently bake loaves with:
- Crisp crust
- Open crumb
- Deep, complex flavor
And from there, you can begin experimenting—higher hydration, different flours, and unique shaping styles.
